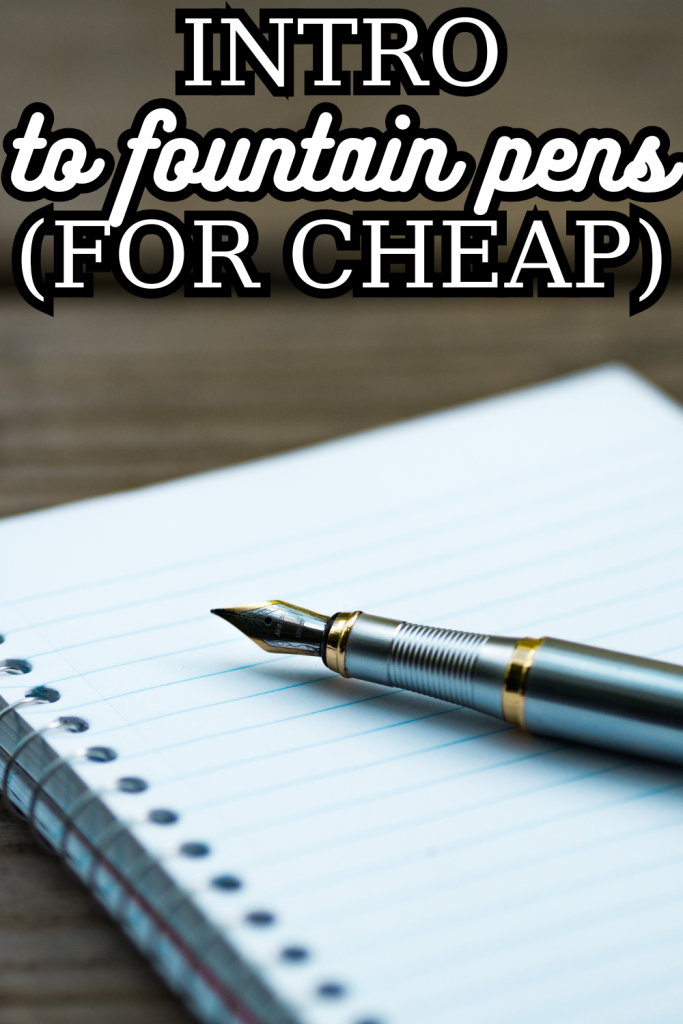
Intro to Fountain Pens– for Cheap!

Fountain pens? Why, when ballpoint or gel pens are available, would you spend extra money on something as frivolous and anachronistic as a fountain pen? At first glance, it seems silly to spend exorbitant amounts of money on a single pen, but it’s definitely possible to get into the hobby for much less than $50.

If you care about your hand-writing experience, I highly recommend experimenting with fountain pens. Let’s look at what you need to know to get started.

Note: NONE of the links in the following article are affiliate links. I make no advertising revenue on this blog. If you would like to support the blog, you can sign up on Patreon!

Why use Fountain Pens?

  1. They provide an unbelievably upgraded writing experience. If you’ve ever used a fountain pen, you know that they provide a much better flow and feel deliciously smooth on the paper. If you haven’t, I recommend getting the cheapest possible supplies and doing some experimenting. It’s like painting with a paintbrush versus scribbling with a crayon, even at lower price points.
  2. You can customize your writing with fun and fancy inks. If you’re sick of plain black or blue ink (which I am not personally, but if you were it would be understandable!) there are a PLETHORA of inks out there, in every color you could imagine. Some even have glitter (called shimmer), or change color where they pool (called sheen).

How to Get Into Fountain Pens— For Cheap!

What to Buy

  1. The pen. If you don’t want to make a large monetary commitment, you can get a fountain pen for less than $10, like from the Jinhao brand. The upgrade in writing experience is immediate, even with cheap pens. If you already know you like fountain pens, I have heard great things about the Lamy Safari, which is less than $30 and comes in an array of colors.
  2. Ink. If you want to experiment with many different inks, you can pick out samples or get random ones from Goulet. My favorite ink for everyday use is Parker Quink in black. It is quick-drying so it’s less likely to smudge during normal writing.
  3. Optional: converter. Depending on the pen you buy, you may need a separate piece to hold the ink inside the pen. The Jinhao brand seems to come with them, but if you get another pen, you should bear in mind that you might need it. Do your research on the model of pen you want to get!
  4. Optional: blunt syringes. Depending on the pen you get, you may need to fill the converter or the ink chamber with a blunt syringe. Getting syringes also allows you to use any ink samples you may get, because you probably won’t be able to dunk your whole pen in the small vial to fill it up.

Let me know if you end up experimenting with fountain pens and how it goes! Have fun writing!
Bullet Journal in a Happy Planner: The Key

This quick post will discuss the symbols I use in my Happy Planner Bullet Journal, which is just like any other Bullet Journal except the pages can be added, taken out, and rearranged.

The symbols I use, on my calendar and elsewhere, are:

  • A dash for notes, of any type.
  • A square for tasks. The original Bullet Journal method prescribes dots for tasks, but I don’t feel that that stands out enough. Squares are also more satisfying to check off.
  • A star for “anything I have to show up to.” This includes appointments (video and in-person), irregular work shifts, or any event with a specific date and time. As a freelancer, it was important for me to note meeting times, since the rest of my days were unstructured.
  • A circle for due dates. This was very important during my career as a freelancer, and I’m sure will be important again as I go into grad school. I also use it for library books. Using a symbol specifically for due dates eliminates the need to write “_____ due,” saving space. It also allows me to scan for upcoming paperwork I need to turn in or bills I have to pay.

Bullet Journal in a Happy Planner: Method

In the previous post, we talked about how to get started Bullet Journaling in a Happy Planner.

In case you missed it, the Happy Planner is a ring notebook that allows you to add, remove, and rearrange pages. It’s often pre-printed with traditional planner pages, but I took those out of mine and put in blank dot-grid pages from the company Talia. Happy Planners come in three sizes (Big, Standard, and Mini)– I recommend the Big size because, with a specialized hole-punch, you can add standard letter size paper. This could be useful for keeping track of important mail, or you can create or buy printables. Your imagination is really the limit here.

One notebook to rule them all?

The Bullet Journal system is designed to consist of one notebook, though there are many variations, and people often find it most convenient to use multiple notebooks for different topics. My Happy Planner Bullet Journal has a variety of different sections, and I use it for all my life administration, but I have additional notebooks for my witch journal (also known as a Book of Shadows or grimoire) as well as my reading journal. (Posts about those are in the works!) I definitely think that having one notebook is my ideal, but you should do what works for you!

Divider Sections

One of the biggest innovations of the Bullet Journal system, in my opinion, is that you just use the next available page for whatever you want to write (or draw, or design) and then add it to your index. However, the Happy Planner has the ability to move pages around. Therefore, I don’t use an index, and use divider tabs instead. When I sit down to Bullet Journal, even when using a regular bound notebook, I flip through every page to see if there’s anything that needs to be written down, migrated, or recorded. (That sounds like a lot, but it only takes me about 10 minutes a day to do this.)

The sections are labeled:

  • BuJo. This is where I keep my life administration stuff that I made myself, and this is the section I flip through every day. More on this below.
  • Notes. This section is really going to come in handy when I start grad school. Right now, most of my book notes live in one of my other journals.
  • Journal. This is where I do my Morning Pages as well as any other long-form writing I might do throughout the day. I do Morning Pages a little differently, and tend to write about what I’m going to do that day. I find more focused writing to be better than just freewriting for me, but everyone’s brains work differently!
  • Blog. Self-explanatory.
  • Paperwork. This is where I keep things I have hole-punched to add, like important mail and legal information.
  • Blank. This is where I keep blank dot-grid pages to add to the other sections.

Bullet Journal Pages

The Bullet Journal section is my main section.

Pages that I find useful include:

  • Contact info for if I lose my notebook.
  • A future log/yearly calendar with space to write important info, like far-off doctor appointments.
  • Monthly calendar in a traditional grid format
  • Life focuses (post about this incoming!)
  • Task list, both short-term and long term projects. (I might divide this up in the future, but for now I have it all as one list.)
  • Weekly symptom recording by day.
  • Monthly reviews. This is part of the Bullet Journal method, and consists of asking “What worked and what didn’t?” Traditionally, the scope is within your notebook, but I like to ask the question of both my organization system and my entire life.
  • My Points System. Discussed in an old post, this is my system for getting stuff done. I have a points goal for the day, and each reasonably productive activity gets me a certain amount of points depending on effort.
  • Habit Trackers.
  • Finished books for this year.
  • Passwords. I am very careful with my notebook for this reason.
  • Things to bring up to the doctor.
  • Health appointment log. This is where I write down any notes from doctor’s appointments, like what we discussed and what the results were.
  • Miscellaneous Lists.

Coming up soon: my unique Bullet Journal key and how I use it.